|
About a month ago, I came across an article about how repairing broken items not only supports sustainability, but also empowers people, providing a psychological boost in these troubled times. (You can read the article here if you’re interested. It seems mostly to be a promotional piece on Kyle Wiens, who has an online repair community called iFixit.)
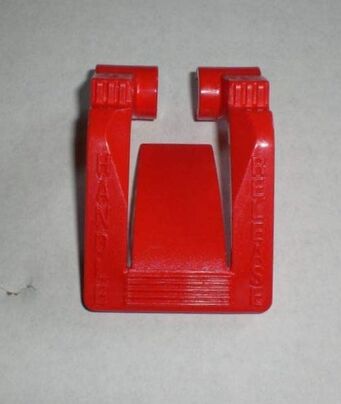
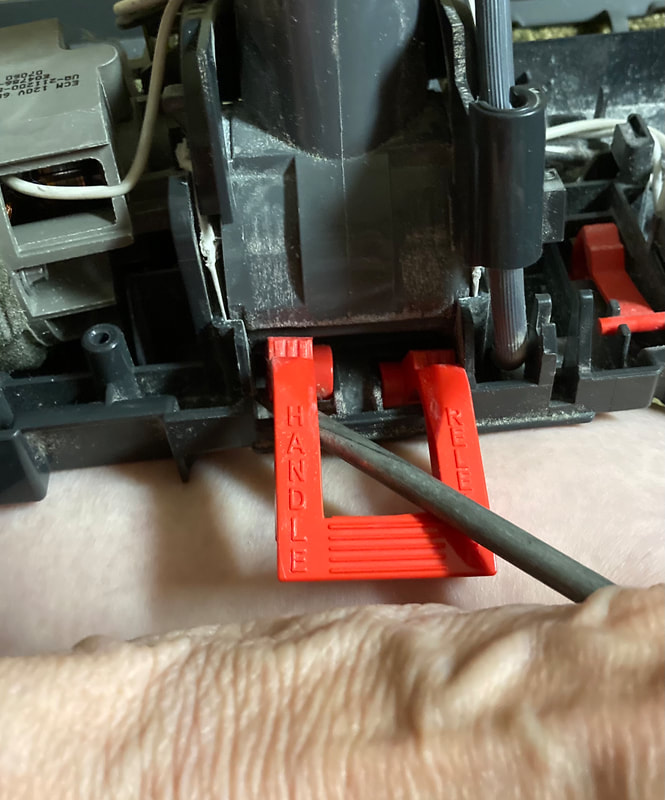
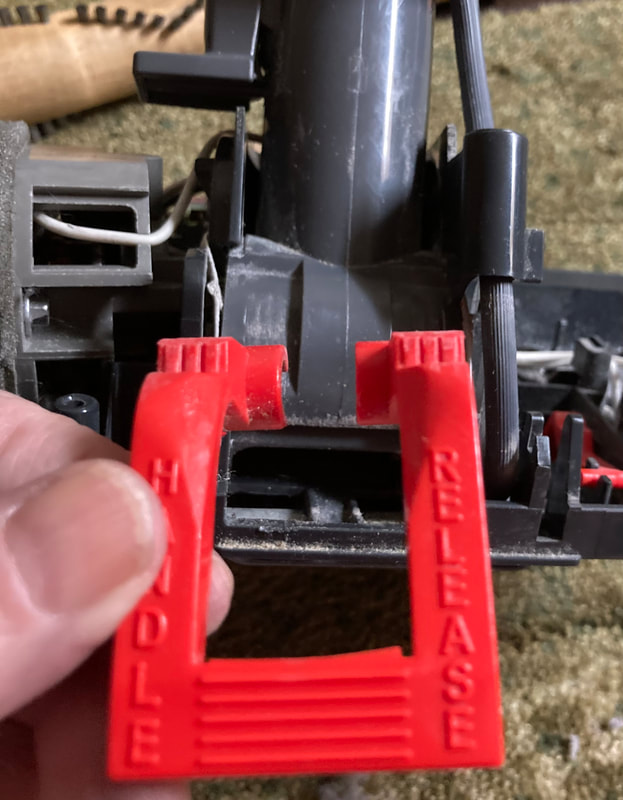
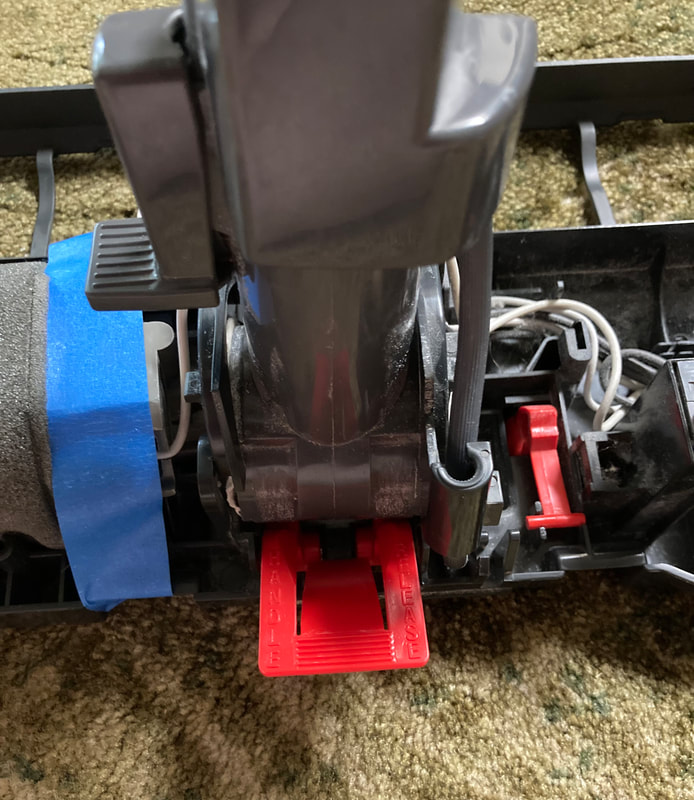
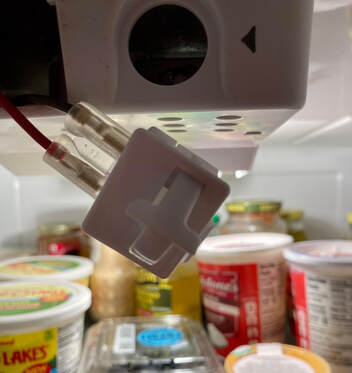
The vacuum handle release pedal holds the tubular wand in an upright position when locked. To unlock the wand, you step on the release pedal, and you can then lower the wand at an angle for use. It’s useful in that when you stand the wand up, it doesn’t just flop to the floor. The locking part of our vacuum handle release pedal had broken off. That’s the tongue-like part in the middle.
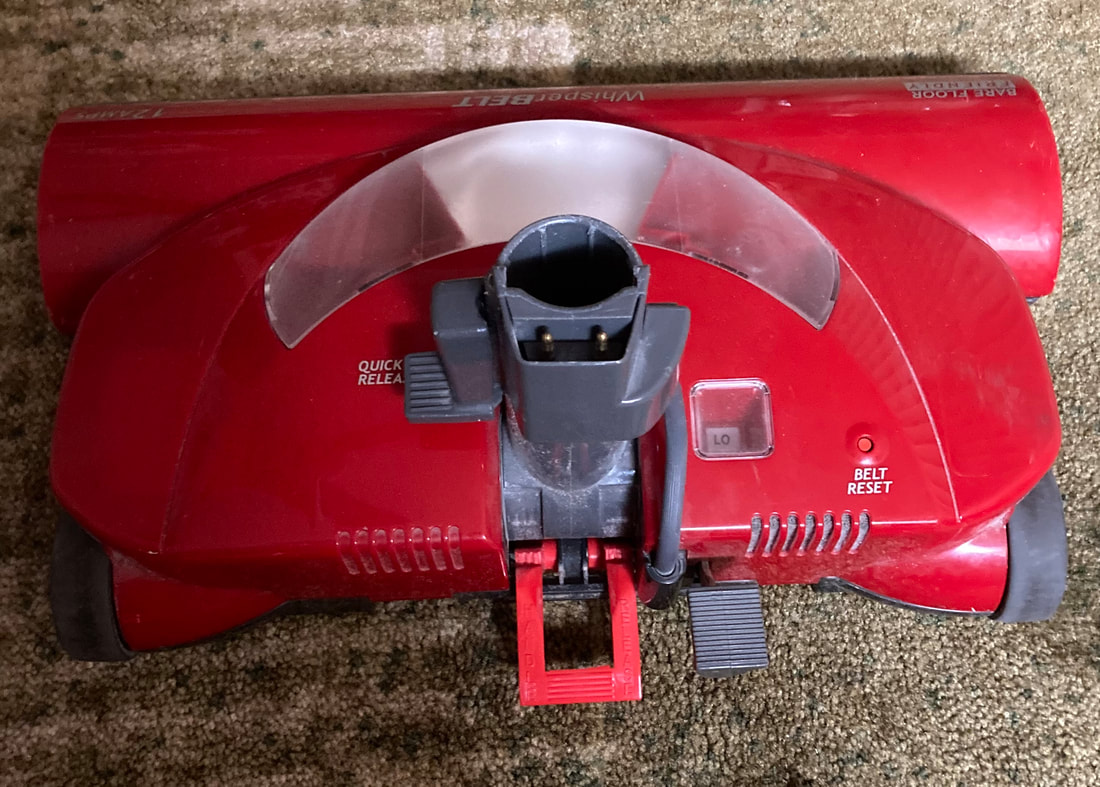
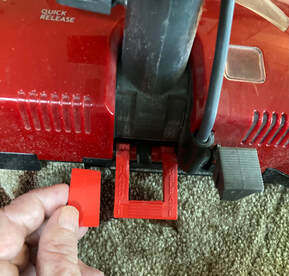
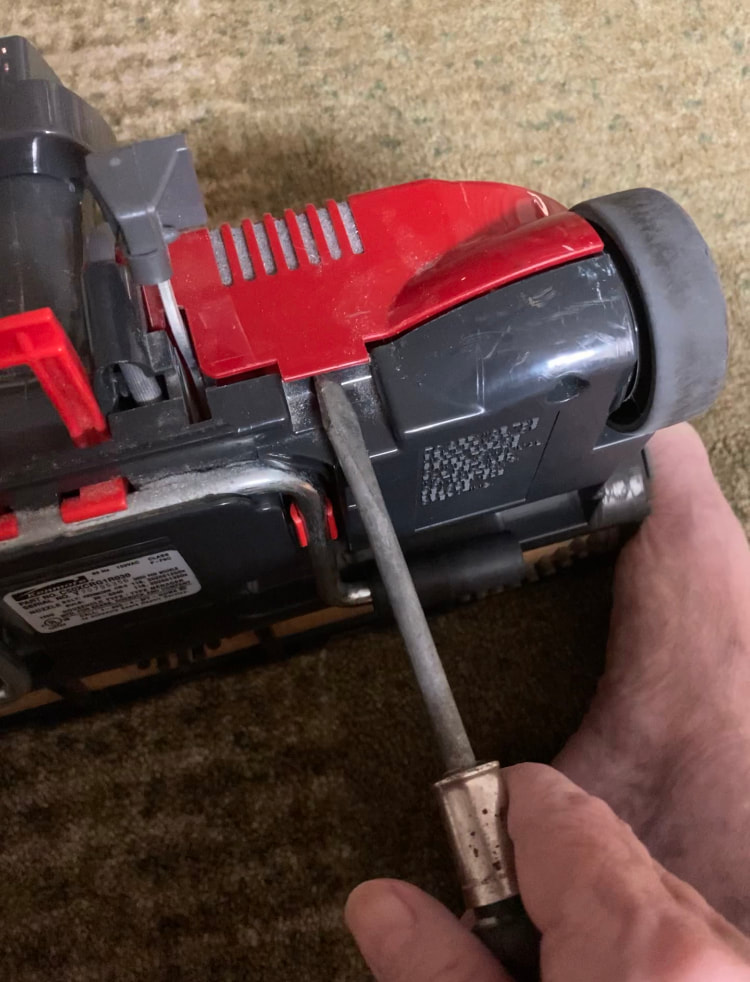
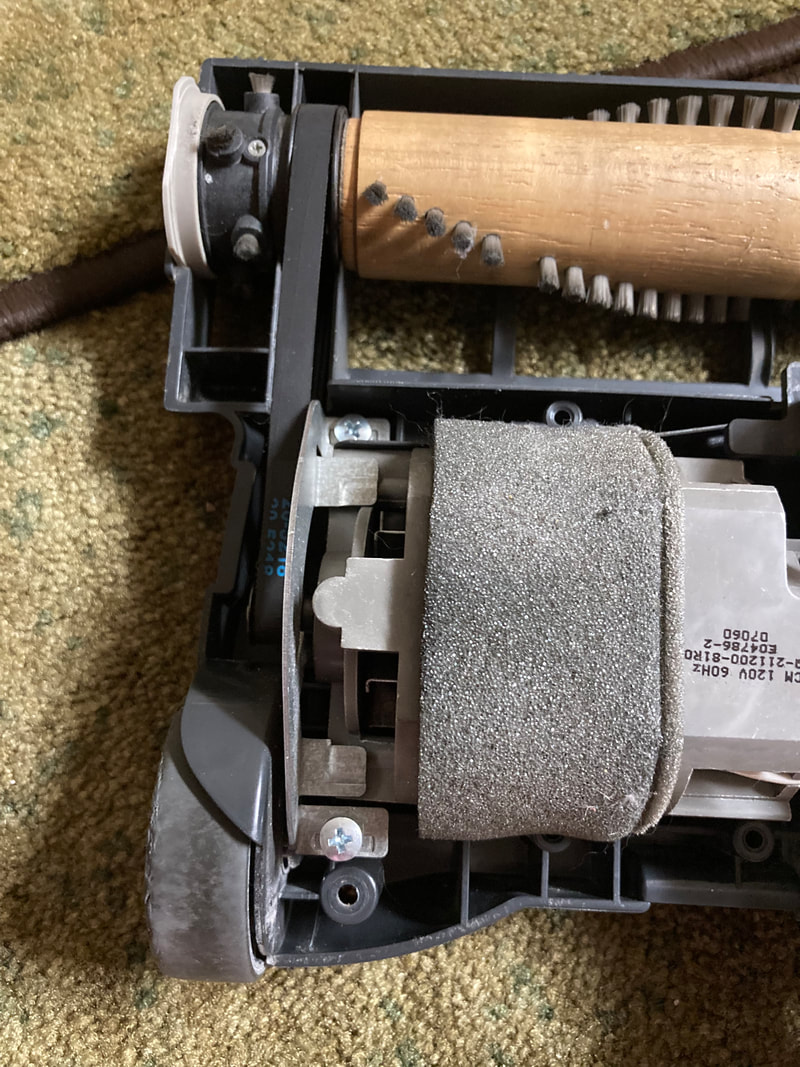
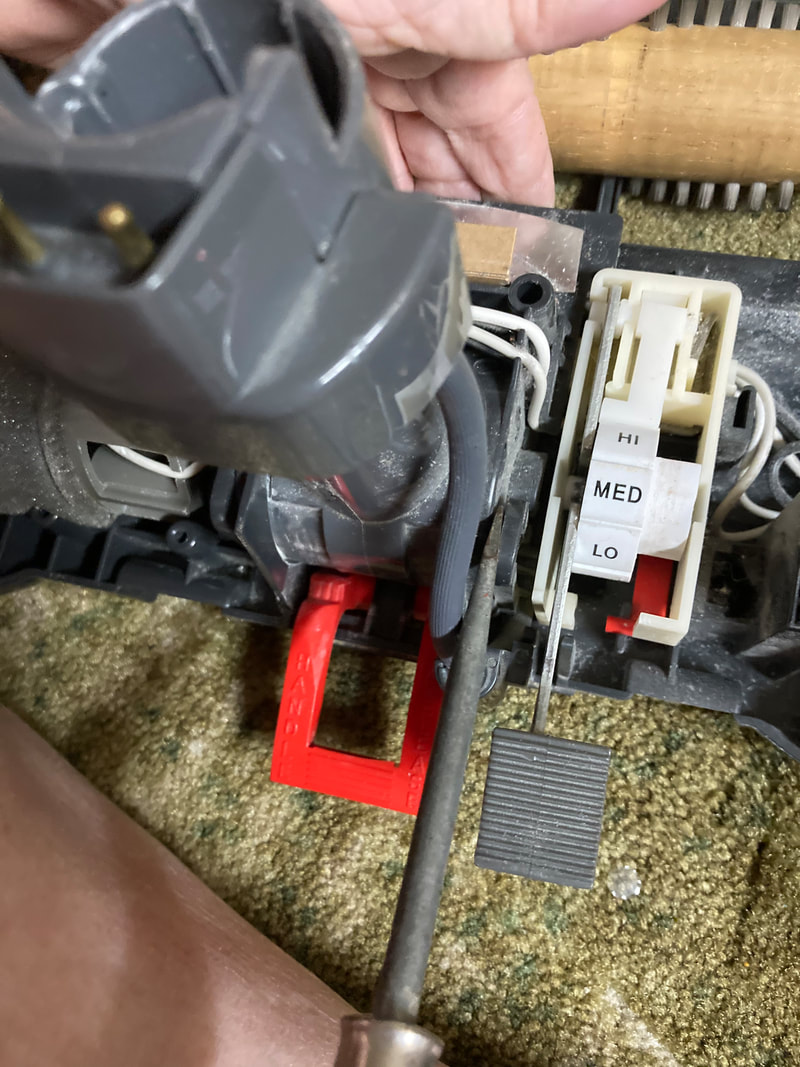
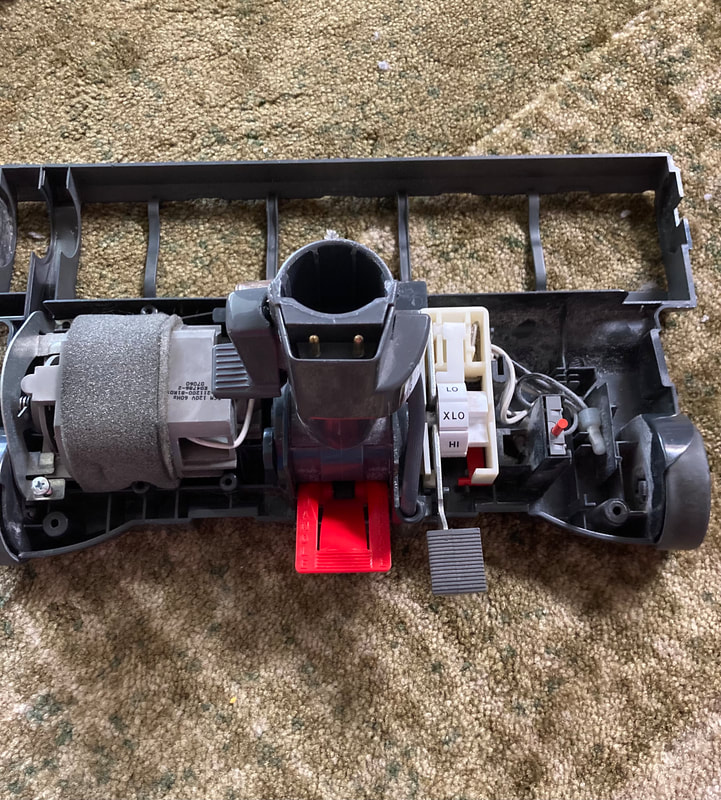
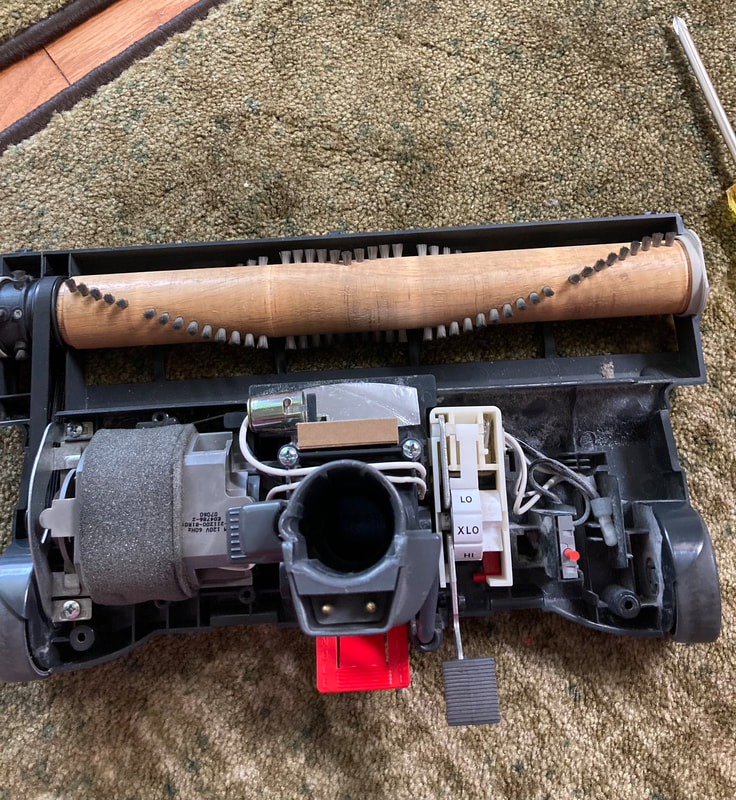
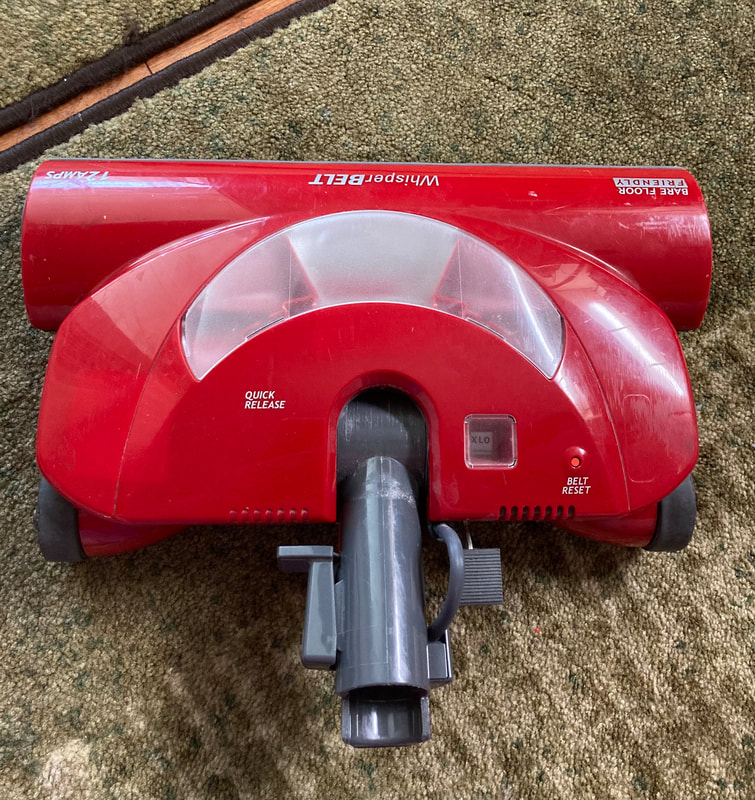
It would seem to be a simple matter to replace this release pedal. You just get a new part and install it. Voila! Sustainable! Empowering! Because this is an old Kenmore, the best source for this part was Sears. I went to searspartsdirect.com and with some help from chat support, found the part. I decided just to get it from Sears because it was hard to find elsewhere and wasn’t significantly cheaper. The photo of the new part up at the top is from the Sears site, and you can find this same photo all over, complete with the dent in the paper to the left. I was told that this part came with instructions. It did not. Evidently this release pedal fits many different Kenmore vacuums, but replacing it is easier on some than on others. In my case, it was difficult. The broken part could not be removed easily. It was necessary to take apart the Power Mate to have enough space to lift the broken part off and put the new part on. Kyle Wiens, the repair advocate, says, “Once you remove the first screw and you start, you’re gonna succeed.” I love optimists, don’t you? So cheery! I have dismantled the Power Mate in the past, fortunately—but I soon found I had to boldly go beyond my experience. Let the photos begin! The photos immediately below show the steps just to get inside the red housing of the Power Mate. The cover unscrews and unclips from the base. (Click each photo to see a caption.) Once inside, I had to unscrew and unclip the wand connector and small motor to allow the wand connector to be raised enough to remove the broken part. Finally! I could pry that broken pedal out and clip the new part in place. Not done quite yet. Reassembly needed. Fortunately I had kept things organized and taken photos. This turned out well in the end, but it wasn’t any ten-minute repair. I spent a lot of time, and I had gotten to the point where I began to feel the minutes of my only life slipping away . . . just to have a working vacuum . . .
My repair was cheaper than having a technician attempt it, and also cheaper than purchasing a new vacuum. Is that the point? I wonder. I don’t know that I changed the world, but who knows. I suppose it was a tiny victory in modern life.
4 Comments
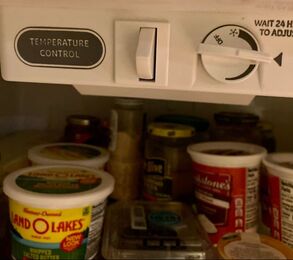
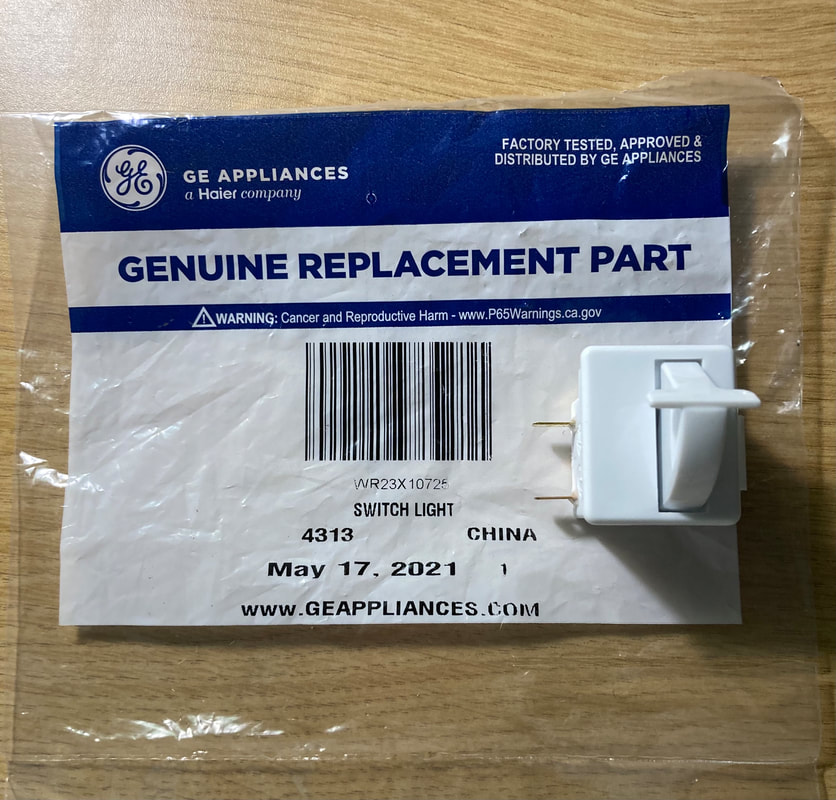
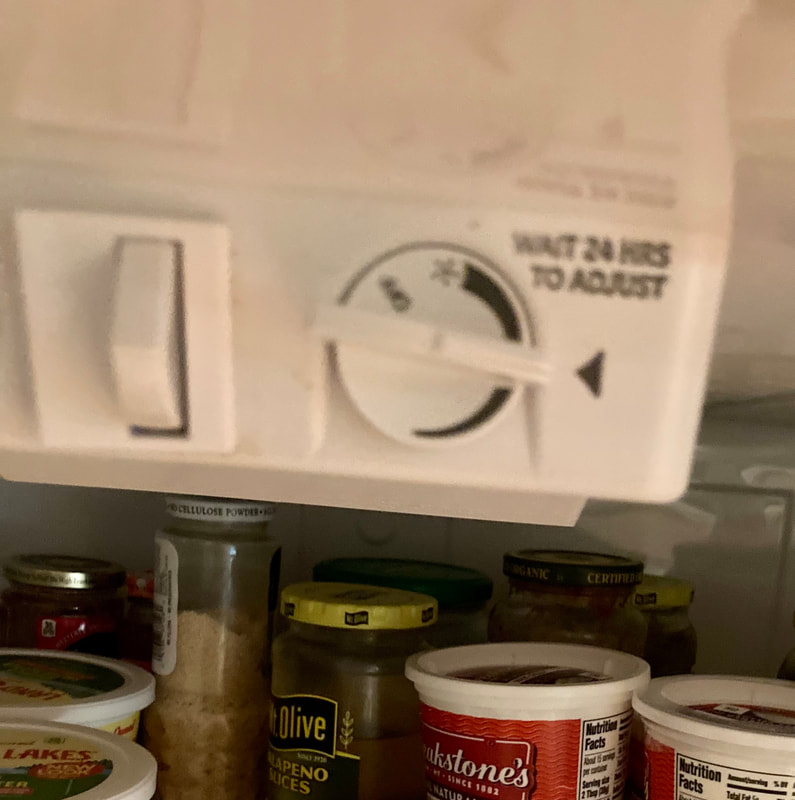
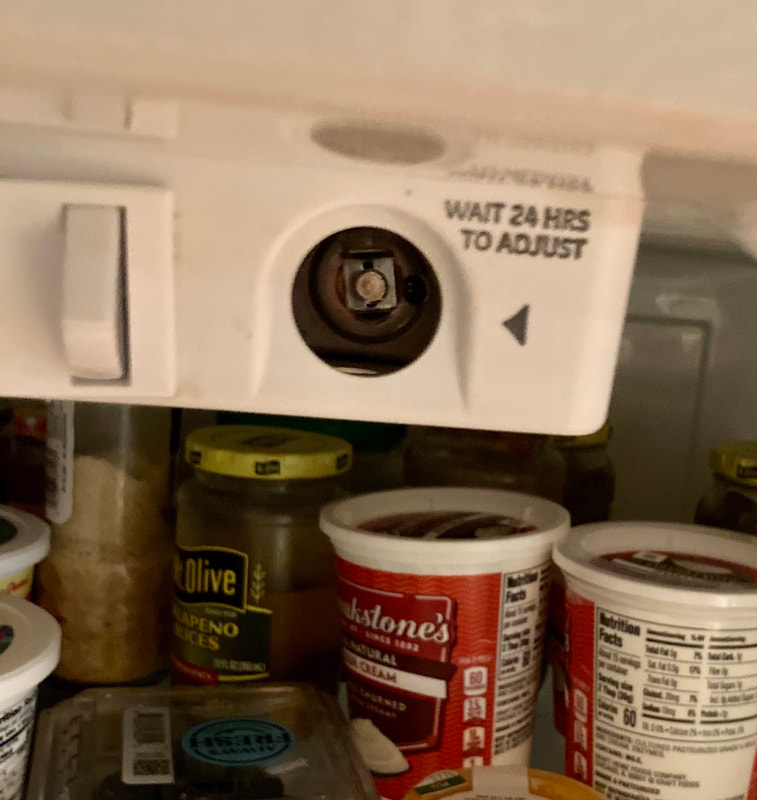
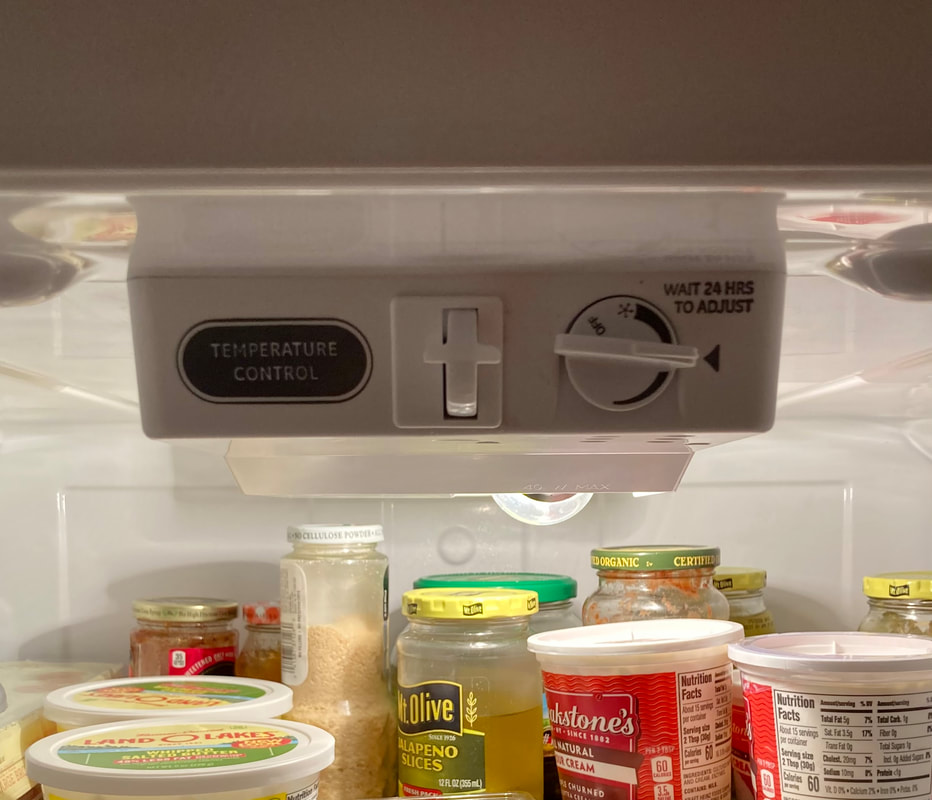
The PartSelect site told me that 93% of the time, the problem is the switch. In the remaining 6% (rounding error) it’s the light socket and terminal. This website also has videos that demonstrate exactly how to install many of their parts—a helpful feature because I could get an idea of which tools and how much force would be needed. And, the site provided the correct part number for me to use in searches. I decided to try the switch replacement, but I didn’t buy it from PartSelect. I looked around for different pricing options. I considered not only the part price, but also the shipping price and the delivery time. I ended up ordering the part through Amazon because that gave me the best price including shipping, and as it turned out, the fastest delivery. (Click photos to enlarge and see captions.)
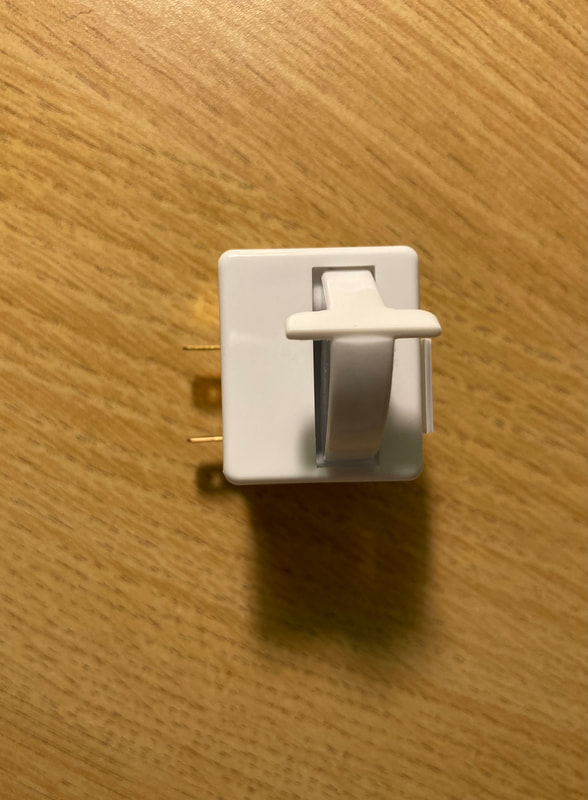
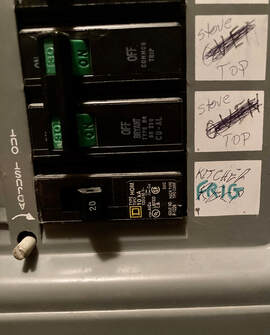
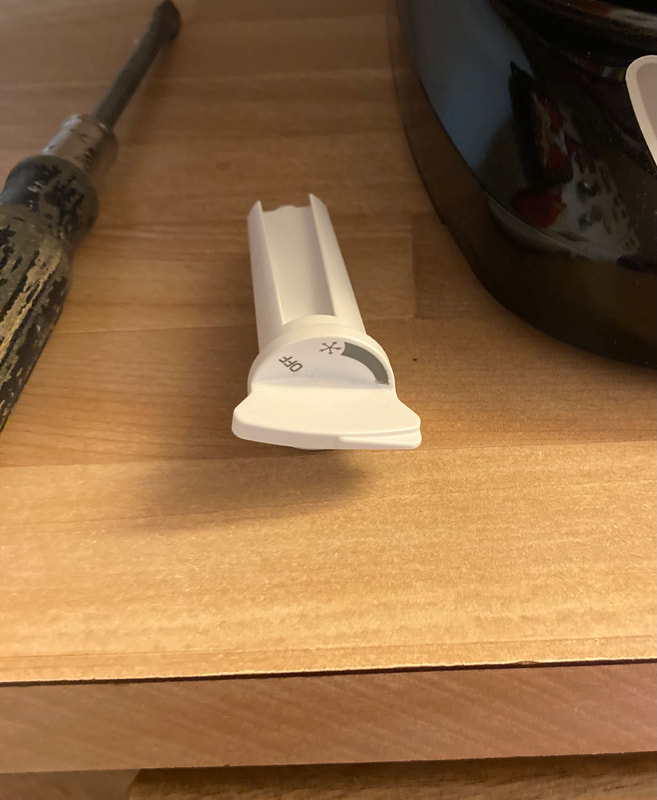
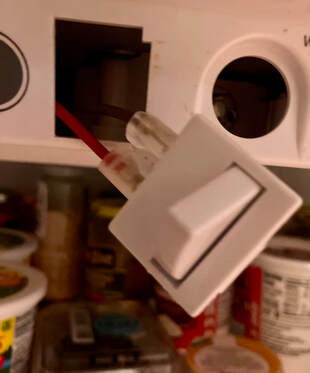
The replacement is pretty simple; however, I had to remove the temperature selector dial on the right because it was in the way. I made sure to take note of where it had been set before removing it. (Click photos to enlarge. Sorry for the fuzzy focus.) The old switch took some force to remove, especially on the right side. I didn’t want to force the left side, where the prongs are, because I didn’t want to damage them. I used a putty knife and screwdriver to work the part out. The right side finally gave way with a snap. Once out, the connectors pulled off easily with needle-nose pliers. Both connectors are in a single plastic unit so they come off as a block. They slip onto the new prongs easily. Before putting the switch into the housing, I put the new bulb in and then flipped the breaker. Sure enough, the bulb lit up. So, I put back the new switch and the temperature selector
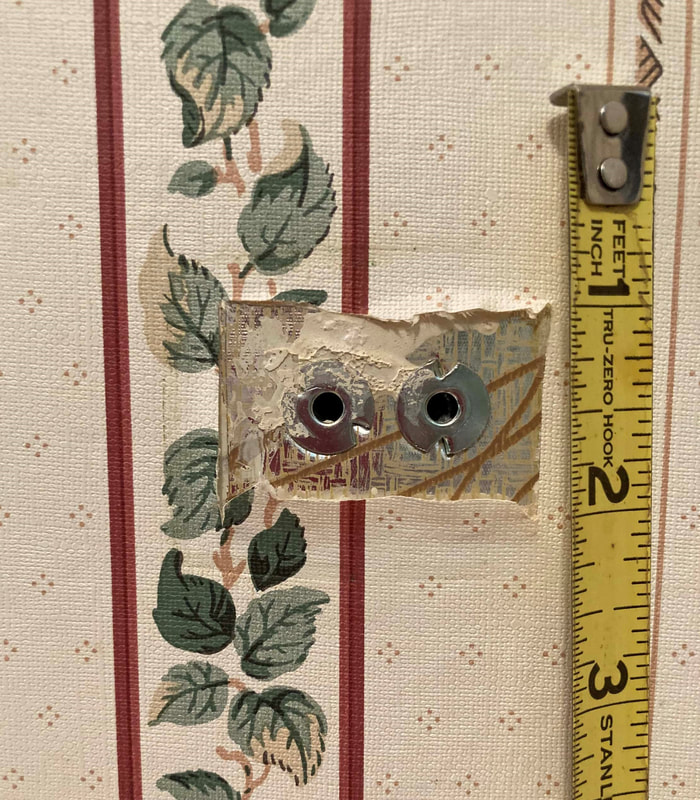
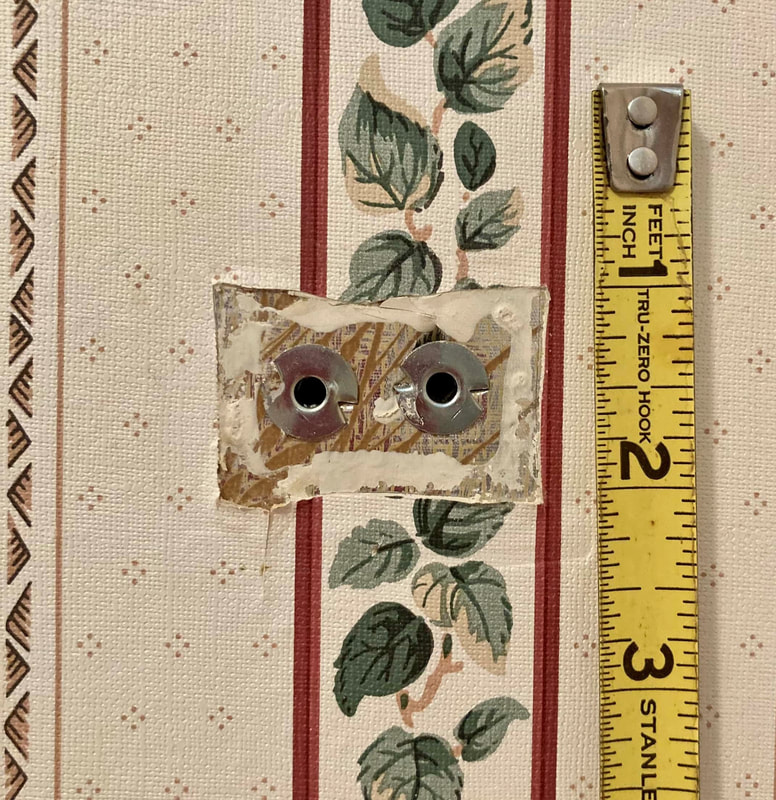
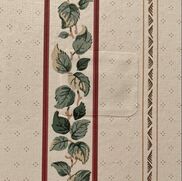
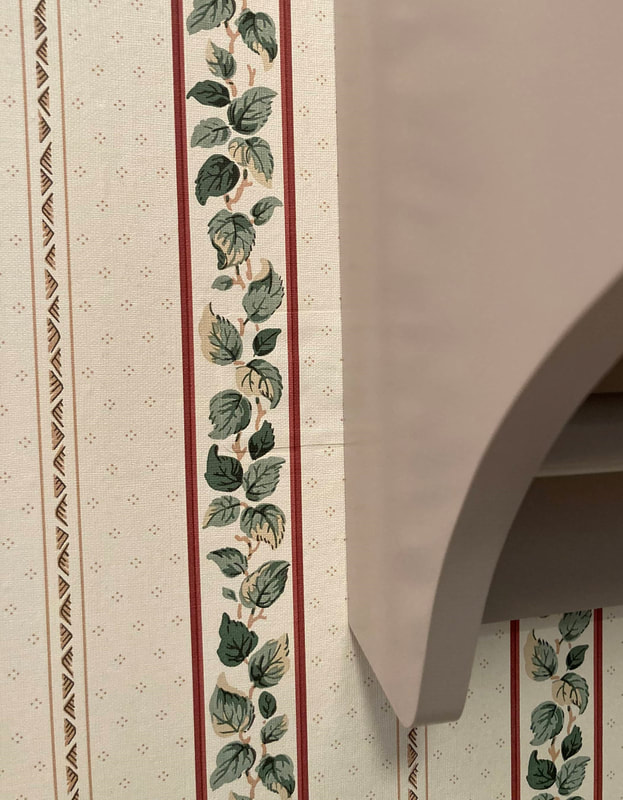
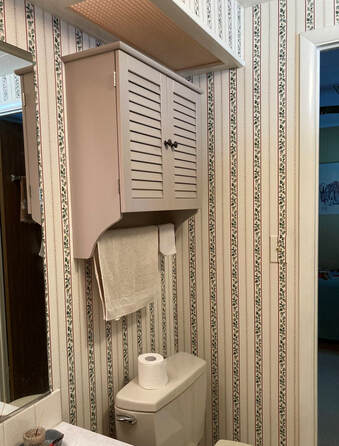
One of the values I learned growing up was that repairing and restoring a damaged or broken item was preferable to tossing it out and buying something new. It’s also really satisfying to fix things. I want to share one small aspect of a recent experience I had when I assembled and installed a wall cabinet in our guest bathroom. Don’t worry, I’m not going to go through the whole process! The story has to do with repairing the wall on which the cabinet was to be mounted. This bathroom had been wallpapered before we owned the home with an attractive, old-style wall covering. Whoever did it knew how to do it right. Or so I thought. When I removed the towel bar from the wall, I found that the bar had been installed prior to the wallpapering, and instead of removing all the hardware, the installer had just cut around it.
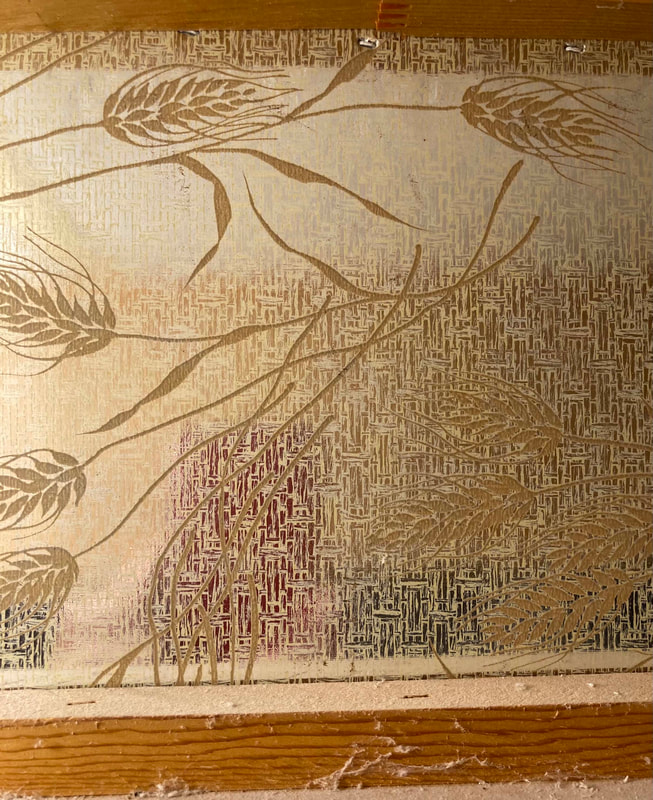
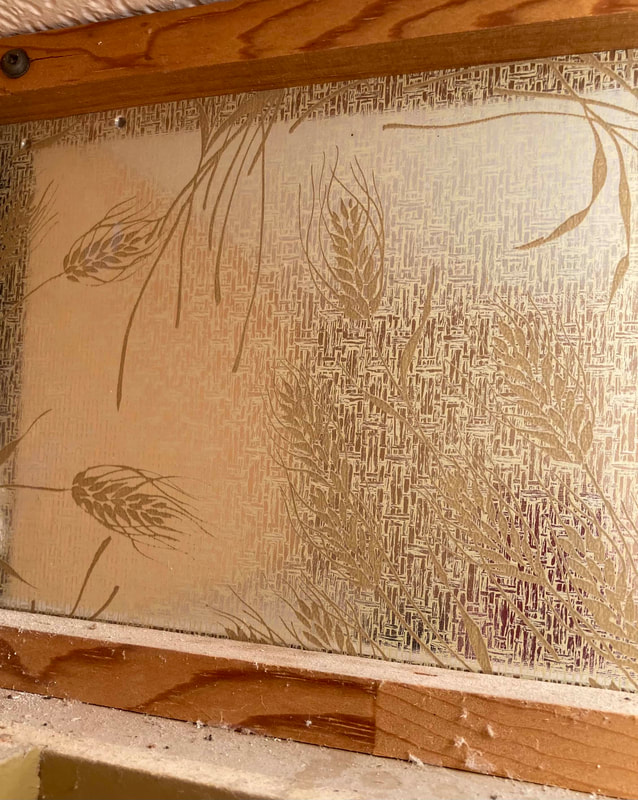
The wall damage had to be fixed, but we no longer have any extra wallpaper with this pattern. Fortunately, some of the wall would be hidden behind a backboard of the new cabinet—so I set out to make some patches. In the hidden area, I located, cut out, and carefully peeled away matching pieces of wallpaper about 1/4" to 3/8" larger than the holes, and I rounded the corners. I then used wallpaper seam adhesive to glue the patches in place. I decided to just cover over the old molly bolts.
|
Categories
All
Archives
January 2024
|


 RSS Feed