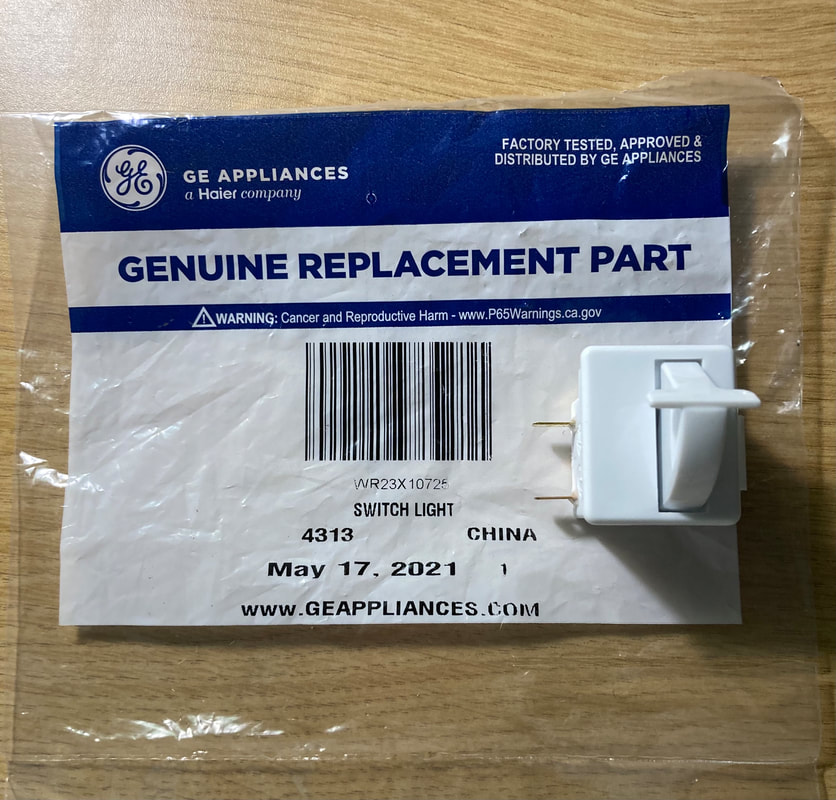
The PartSelect site told me that 93% of the time, the problem is the switch. In the remaining 6% (rounding error) it’s the light socket and terminal. This website also has videos that demonstrate exactly how to install many of their parts—a helpful feature because I could get an idea of which tools and how much force would be needed. And, the site provided the correct part number for me to use in searches. I decided to try the switch replacement, but I didn’t buy it from PartSelect. I looked around for different pricing options. I considered not only the part price, but also the shipping price and the delivery time. I ended up ordering the part through Amazon because that gave me the best price including shipping, and as it turned out, the fastest delivery. (Click photos to enlarge and see captions.)
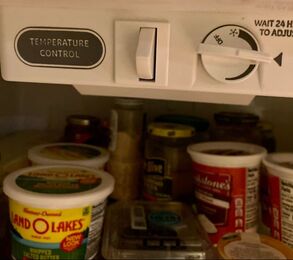
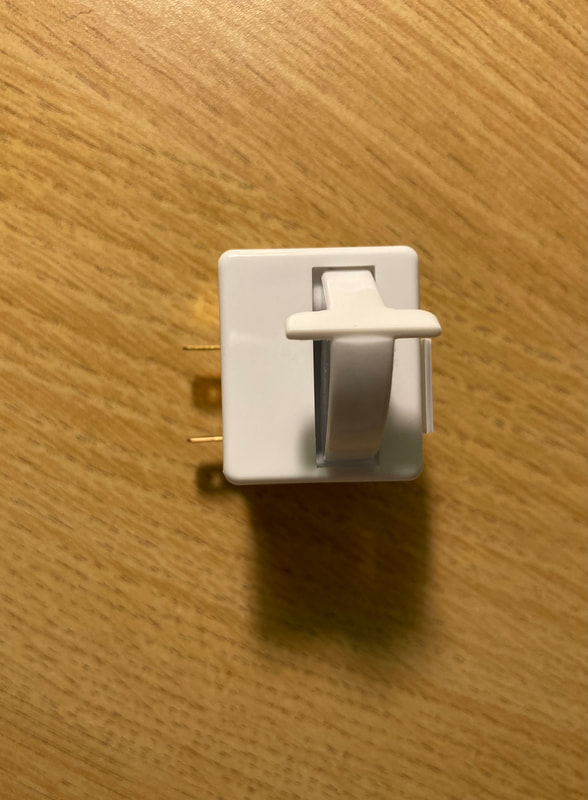
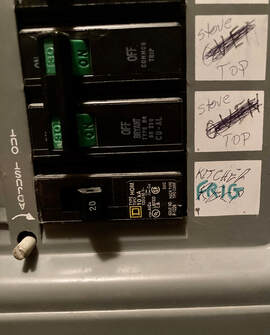
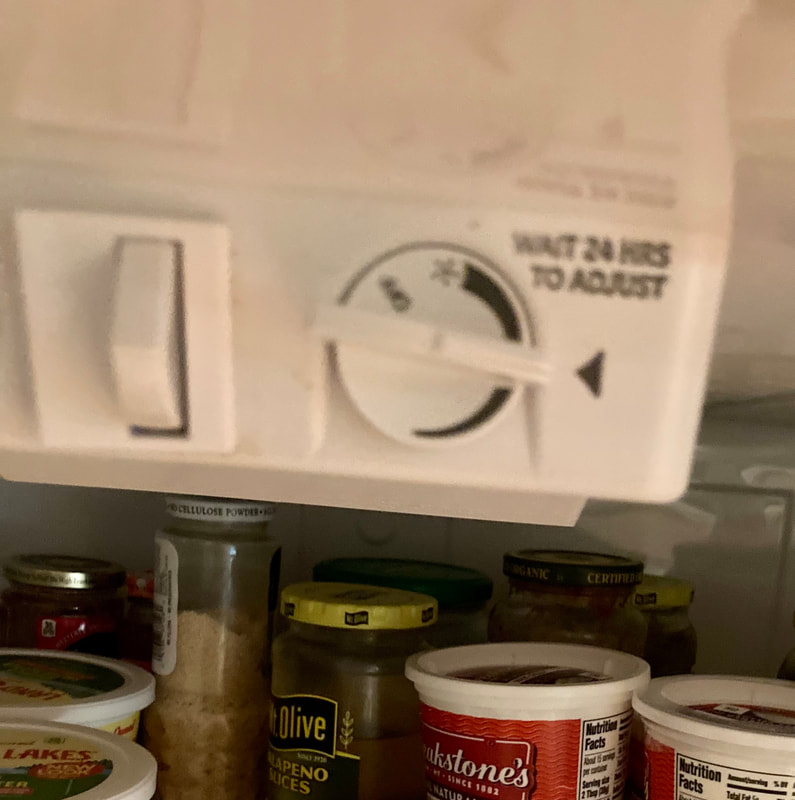
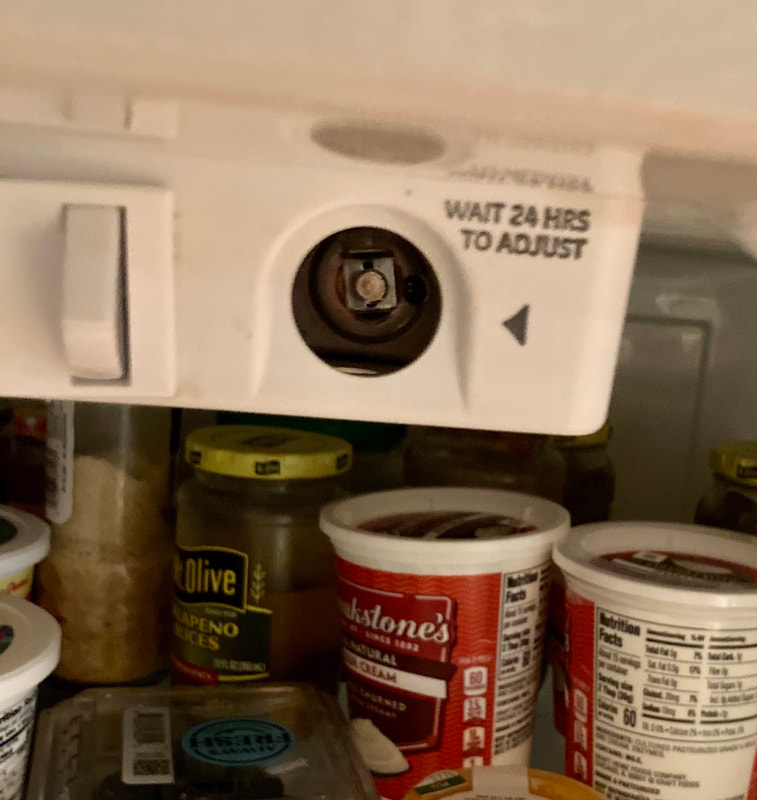
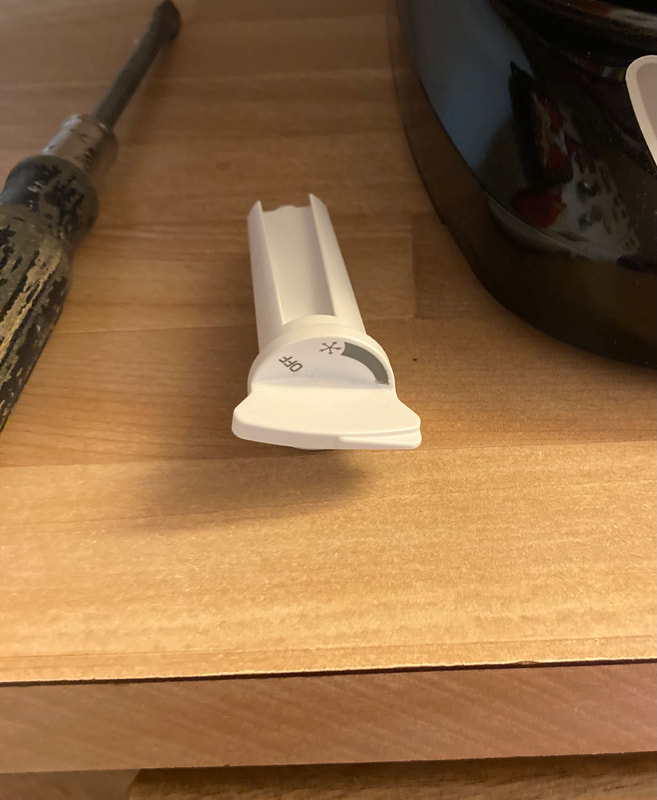
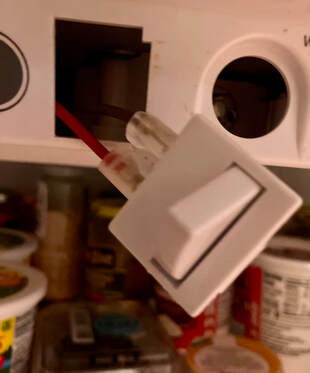
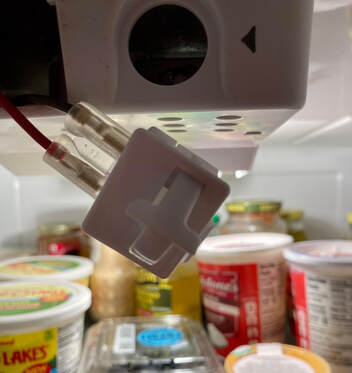
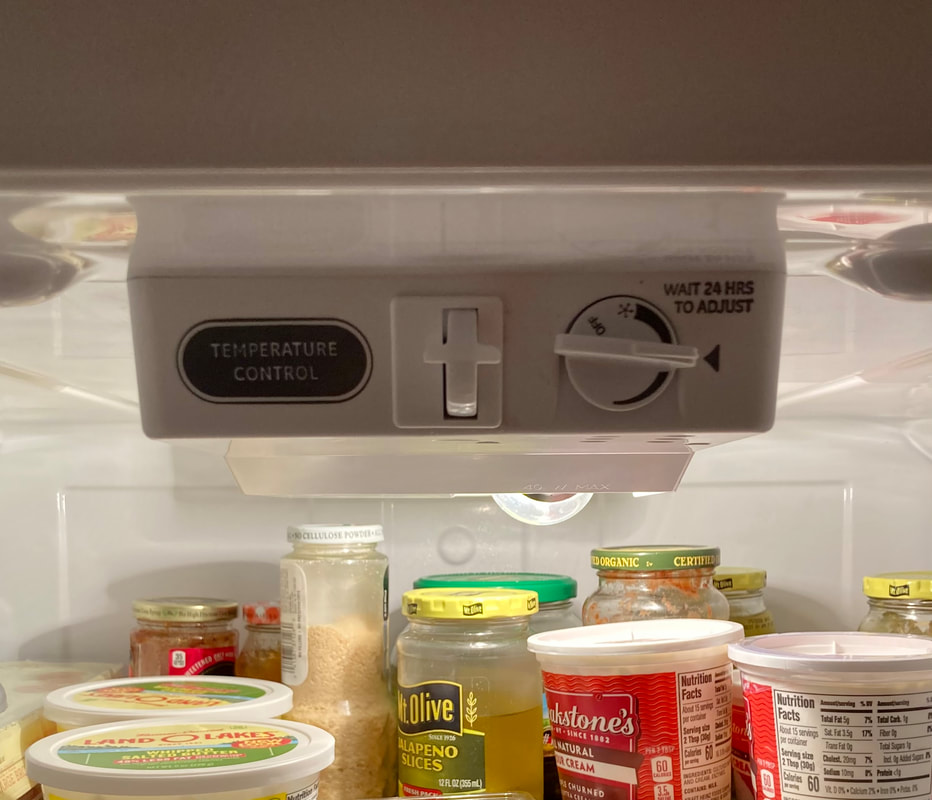
The replacement is pretty simple; however, I had to remove the temperature selector dial on the right because it was in the way. I made sure to take note of where it had been set before removing it. (Click photos to enlarge. Sorry for the fuzzy focus.) The old switch took some force to remove, especially on the right side. I didn’t want to force the left side, where the prongs are, because I didn’t want to damage them. I used a putty knife and screwdriver to work the part out. The right side finally gave way with a snap. Once out, the connectors pulled off easily with needle-nose pliers. Both connectors are in a single plastic unit so they come off as a block. They slip onto the new prongs easily. Before putting the switch into the housing, I put the new bulb in and then flipped the breaker. Sure enough, the bulb lit up. So, I put back the new switch and the temperature selector
1 Comment
Teresa
10/6/2021 05:51:14 am
Great step by step instructions! Your comment will be posted after it is approved.
Leave a Reply. |
Categories
All
Archives
January 2024
|

 RSS Feed